
Realistic Faux Stone, Brick & Wood Panels for Interior & Exterior Walls
Achieve the look of authentic stone with the practicality of our lightweight panels, made in the USA and shipped directly to you. Enjoy stunning visuals, easy installation, and energy efficiency - all in one package!
Our proprietary two-layer system offers unparalleled durability, ensuring you receive the strongest surface available in the industry.


Faux Real
Real starts at the source. Our panels are cast from genuine materials to preserve micro-texture, edge definition, and true grout lines, then hand-finished to deliver natural color variation and believable depth—without the weight or wait. The result is realism that lasts decades, installs faster with fewer seams, works indoors or out, and stays sharp thanks to a durable finish that keeps your project on time and on budget.
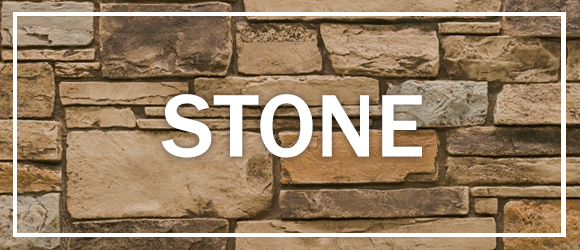
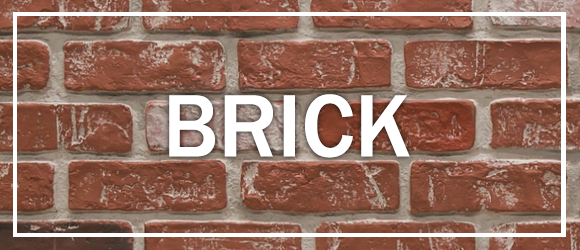
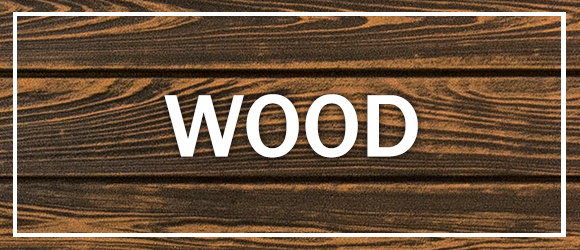
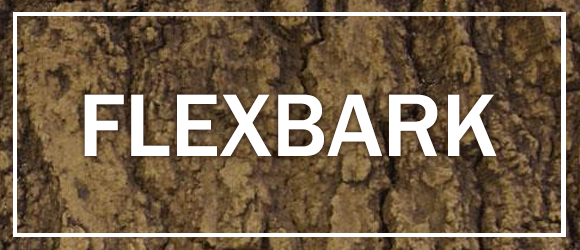
Panels for Any Project
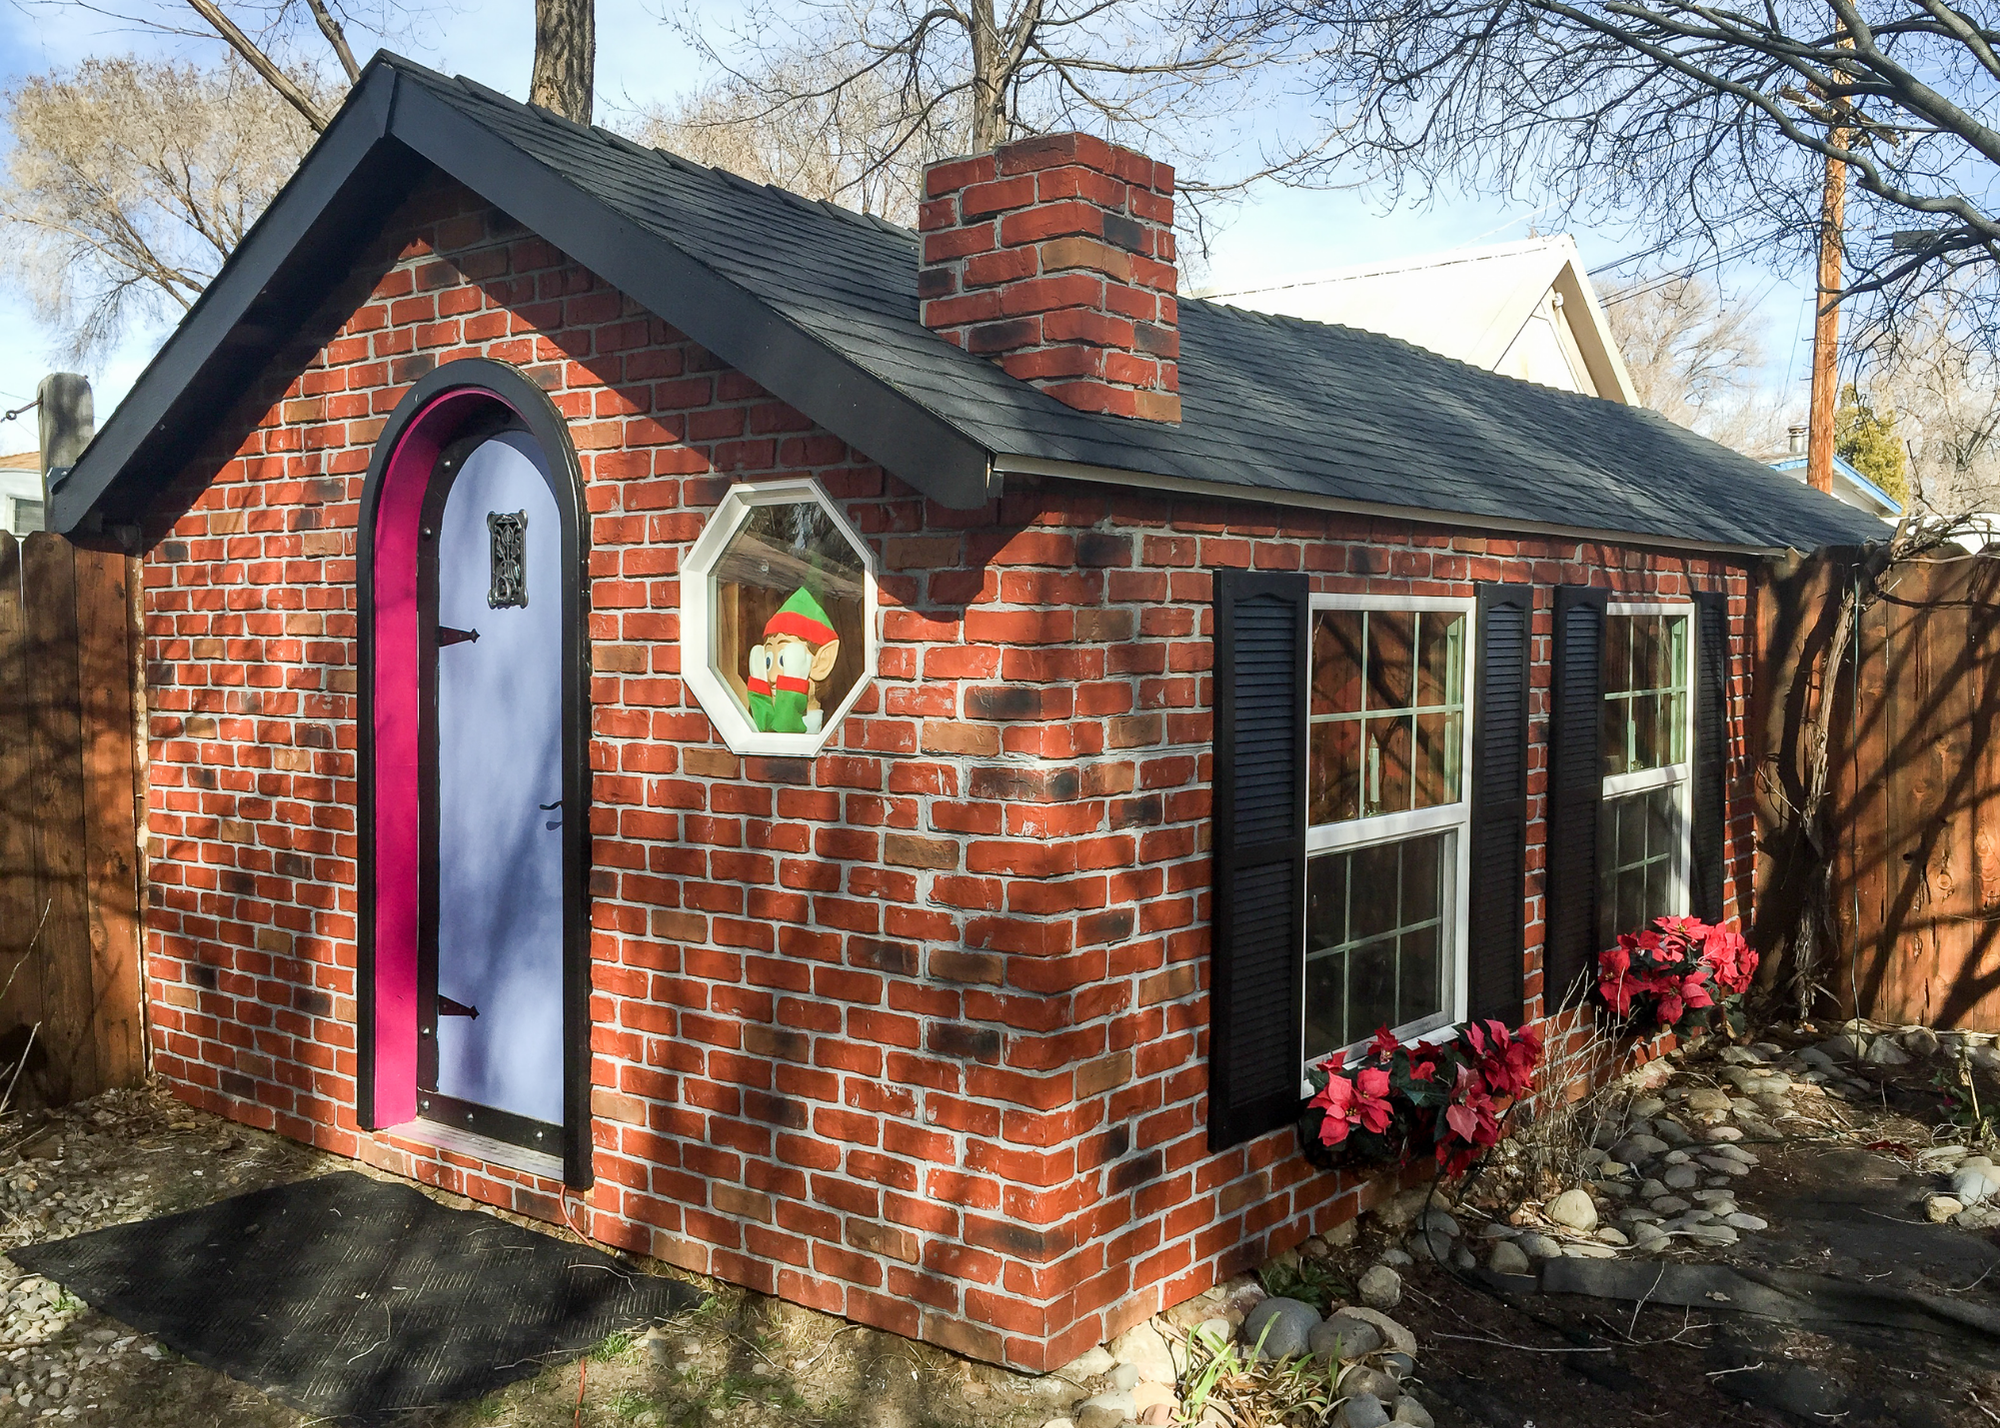
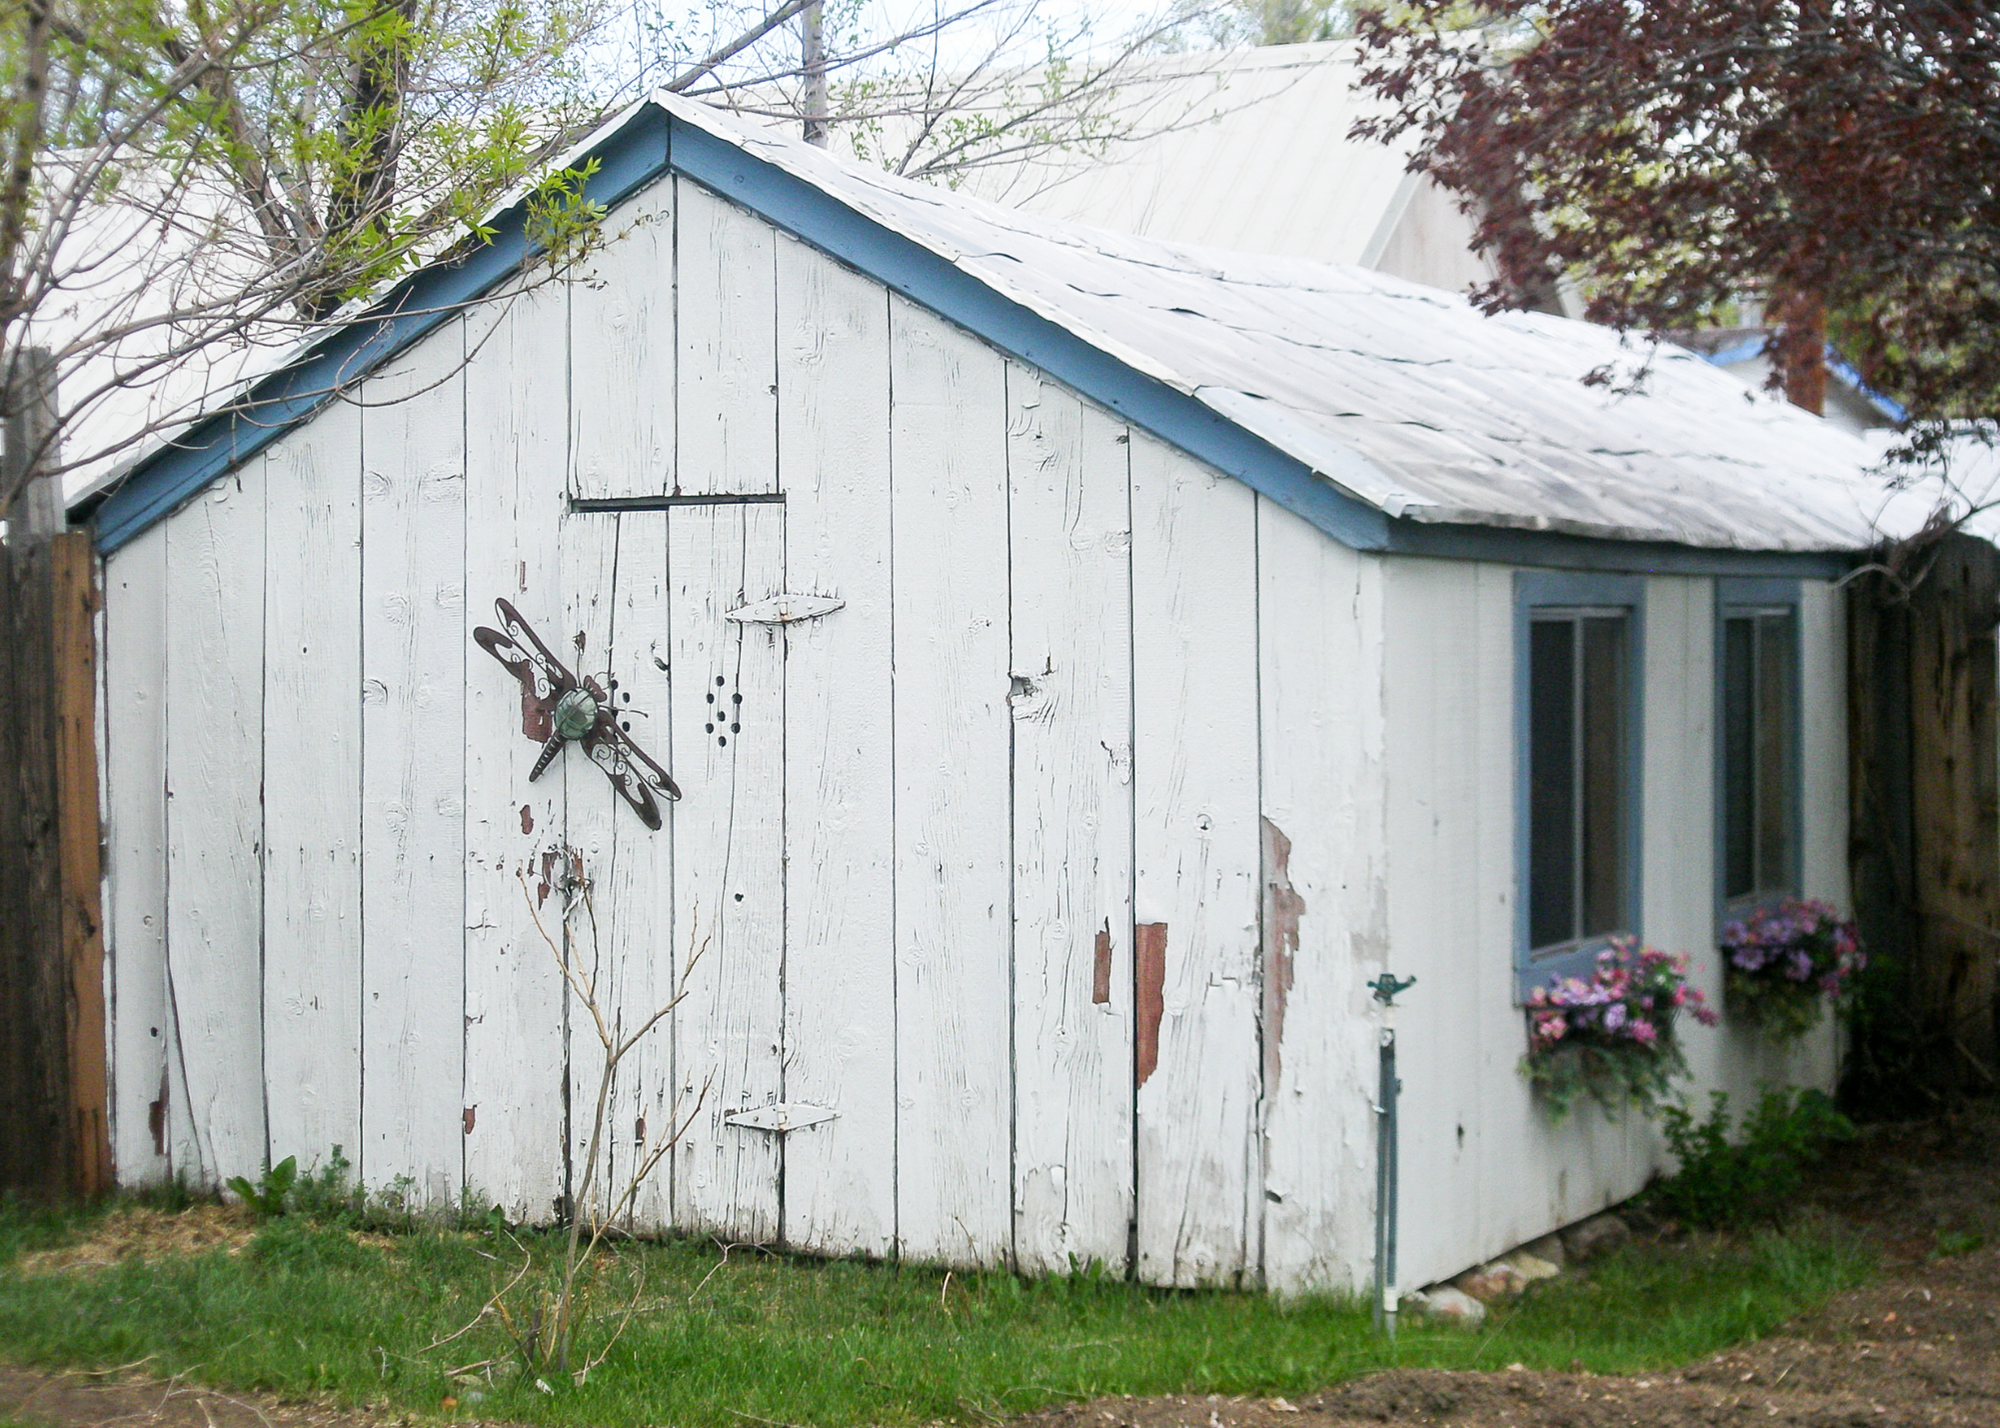
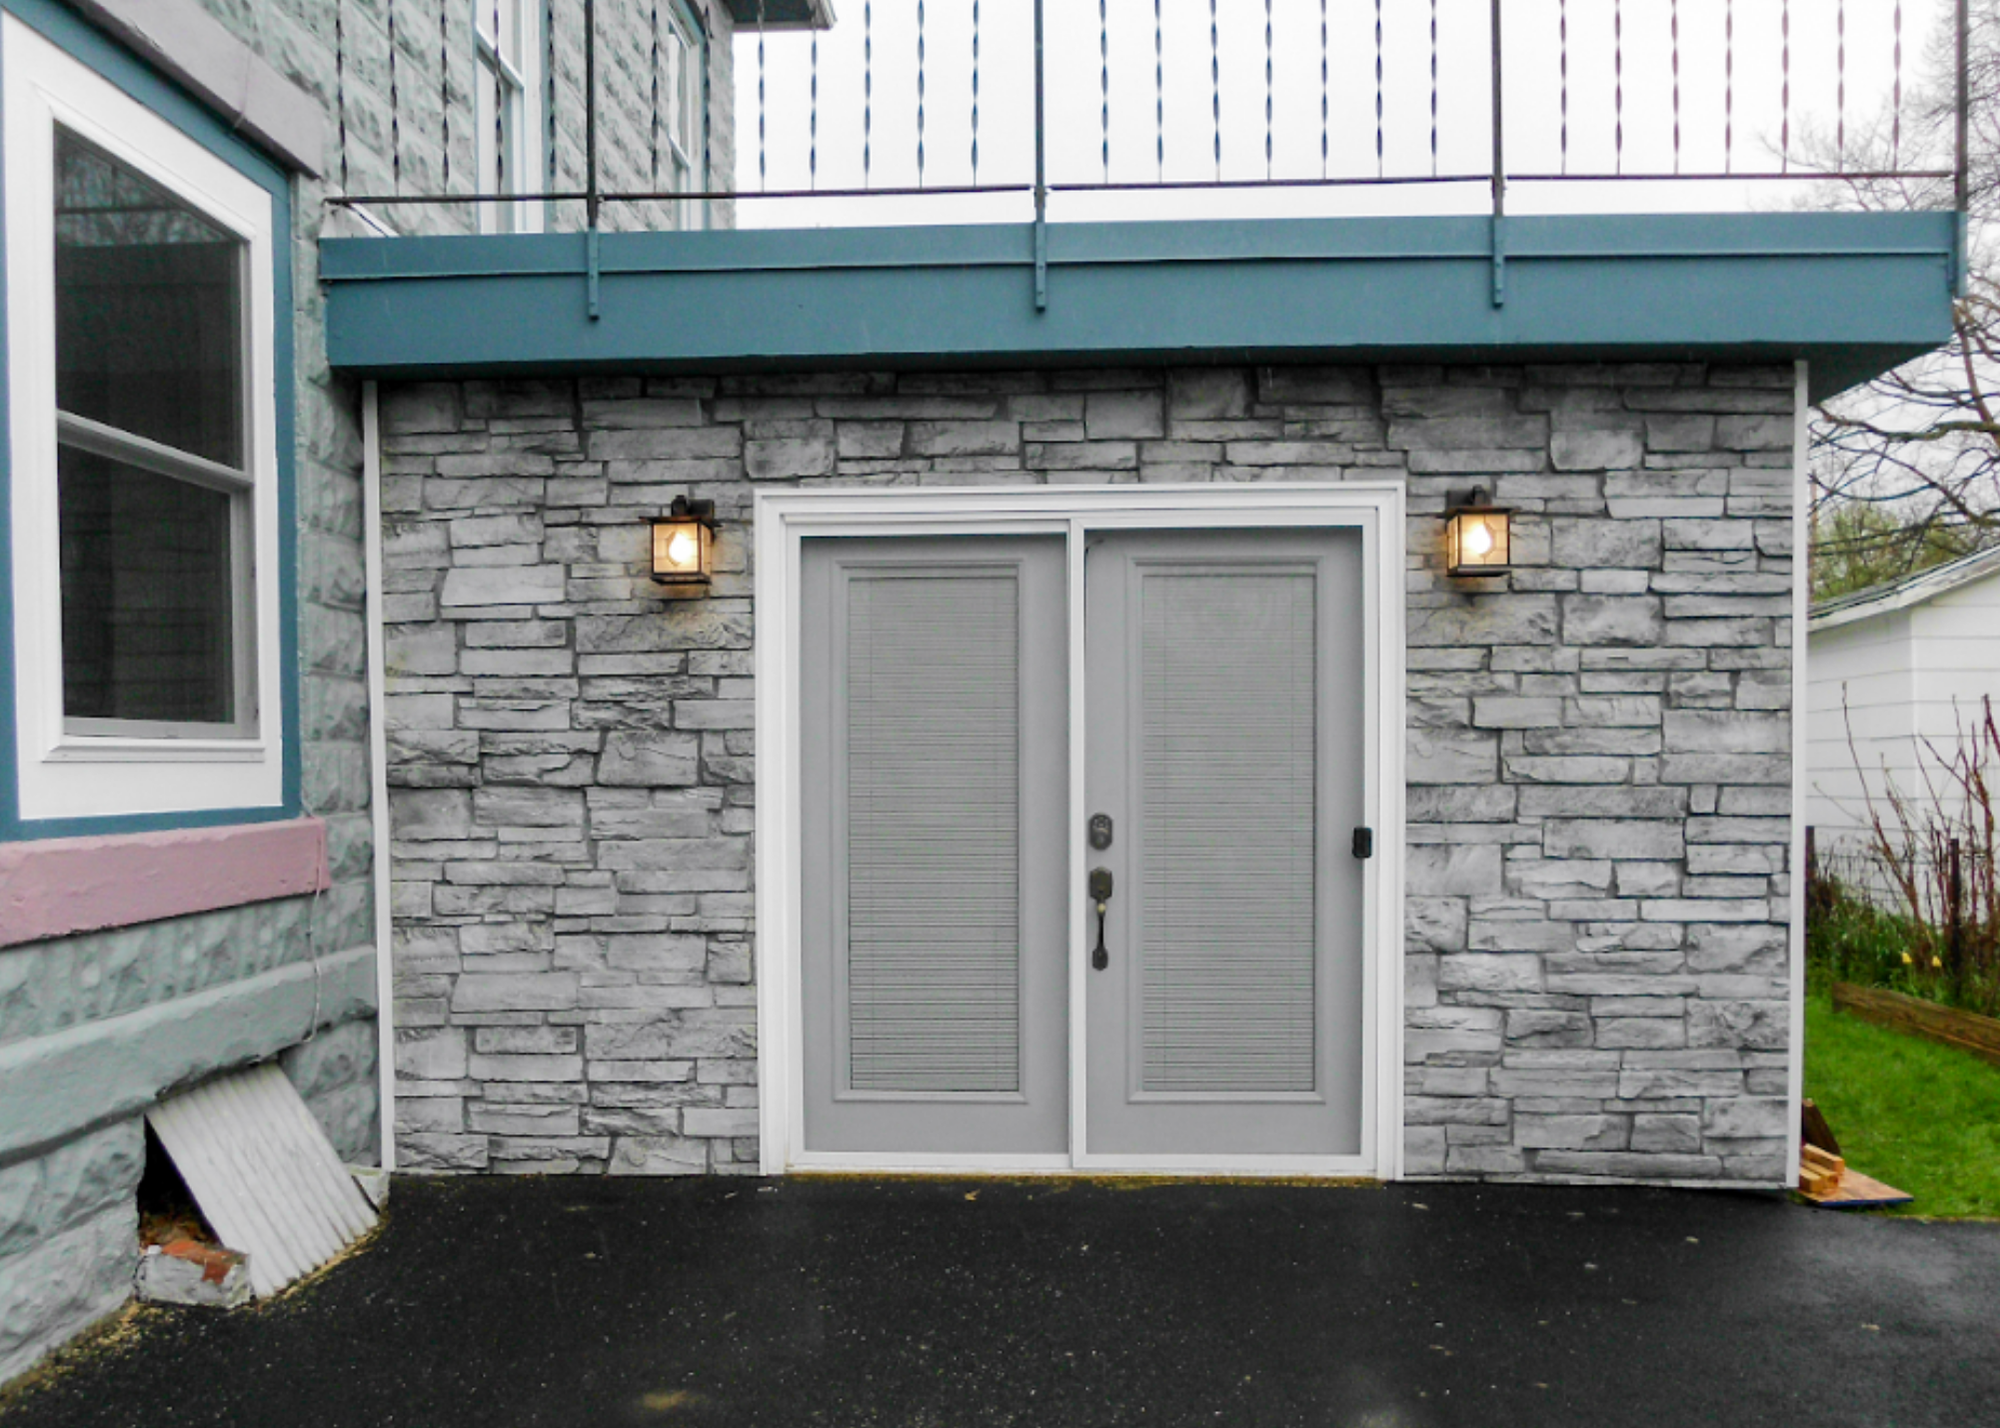
See the difference our panels can make in a fraction of the time (without compromising on durability or beauty)!
-
LIGHTWEIGHT
No need for bulky reinforcement systems; our panels can go on any vertical surface and be installed by one person. Even our largest panels are lighter than a sheet of plywood!
-
DURABLE
Built to last with our unique dual layer system. So tough, the same technology is used to protect car bumpers. In fact, we took a sledgehammer to our own products to prove it.
-
ALL CLIMATES
All-weather performance for any region and built tough for year-round, maintenance-free beauty. Plus, our panels can be installed at any time of year - even in cold climates!
-
REALISTIC
Molded from real brick and stone and hand-painted to beautifully mimic natural details, we've perfected realism. Our team of artists carefully crafts each and every panel to the perfect custom finish.
-
DIY FRIENDLY
An easy choice for professionals and beginners alike. All of our products install with basic tools and are perfect for quick and easy home upgrades to save on labor costs.


Blog Posts
View all-

Why Some Commercial Buildings Make a Stronger F...
Some commercial properties immediately create a positive impression. They appear established, well-maintained, and professionally managed before a customer ever walks through the front door. Others may offer excellent products or...
Why Some Commercial Buildings Make a Stronger F...
Some commercial properties immediately create a positive impression. They appear established, well-maintained, and professionally managed before a customer ever walks through the front door. Others may offer excellent products or...
-

Exterior Design Details That Add Character
Summer has a way of making homeowners look at their homes differently. Longer days, outdoor gatherings, and time spent working in the yard often draw more attention to the exterior...
Exterior Design Details That Add Character
Summer has a way of making homeowners look at their homes differently. Longer days, outdoor gatherings, and time spent working in the yard often draw more attention to the exterior...
-

Lightweight Panels That Keep Projects Moving Wi...
Labor is still one of the biggest variables on any job. Between scheduling conflicts, subcontractor availability, and rising labor costs, relying on specialized trades can slow projects down and eat...
Lightweight Panels That Keep Projects Moving Wi...
Labor is still one of the biggest variables on any job. Between scheduling conflicts, subcontractor availability, and rising labor costs, relying on specialized trades can slow projects down and eat...
-

Curb Appeal That Pays Off: How a Facade Can Bri...
In today’s convenience store market, standing out is getting harder. New builds, remodels, and national brands are raising the bar, and customers are making split-second decisions before they even pull...
Curb Appeal That Pays Off: How a Facade Can Bri...
In today’s convenience store market, standing out is getting harder. New builds, remodels, and national brands are raising the bar, and customers are making split-second decisions before they even pull...


Let customers speak for us

Bought the sample. Liked it. Ordered enough for brick accent on the front of our house and it’s being installed now. Very quick response on order. Looking great on our house.
I have ordered several samples of urestone faux stone sheets, both in ledgestone and stacked stone varieties, in an attempt to find the perfect product for my needs. I finally chose stacked stone cascade canyon. The colors in the sample are a perfect match for both my indoor and outdoor needs. The stacked stone sample contains beautiful blended tones of light gray, darker gray, and brown in a pattern that is so realistic looking it's hard to believe it isn't real stone. I have looked at other similar products but nothing else even comes close to attaining the unique blend of colors and the realistic look of urestone. The product is also lightweight and easy to install. I couldn't be happier.

I was surprised at how heavy duty this panel was. Solid, light weight, and looks like real stone.

I noticed that you have Home Depot as a buyer. I went in and asked them about the Faux brick and they weren’t very knowledgeable. I have been telling our Solar clients about it and what a great product it would be to use for those spaces that would not require a lot of of brick. Such of wrapping your columns or an additional sun room the money they could save. I am hoping they will order from you and get the product for their addition at a fraction of what brick would cost. This would work great on a patio l, sunroom and they would have choose from your website and place the order all from her me. I am impressed with the choices you have to choose from.

This sample convinced me to use the faux stone on my fireplace. It is very realistic and lightweight. Just what I wanted.

My order and installation of 2x4 Ledgestone panels went smoothly and is an amazing upgrade to our fireplace wall. The panels were shipped well packaged and no defects were found. The end result exceeded my expections and I recommend Ledgestone panels as a remodel option.

Goes up easy and looks AMAZING! Very pleased and will be placing another order.

They are very responsive to questions and concerns. Product ships fairly quickly. Very happy with the with the results we got on our project with flexbark.

Really amazed at how sturdy this product is!! Excellent!!! It looks so realistic too!!! I’d much rather use this than paneling!! Very nice!!
I ordered several samples to preview for a porch renovation project and am pleased with the realistic look and quality of the sample, plus the installation instructions and informative website. I plan to order some for my project closer to spring!

I did some search before settling on the samples from Fauxstonesheets.com
I'm glad I did, because they have a natural look (I could have mistaken them for real bark if I didn't know). They're sturdy and of good quality, but yet flexible to fit flat and uneven surfaces. The sample size is very appropriate because it gave me an idea of how the application would look like. The material is not hard solid which makes it easy to cut and reshape as needed. The price is competitive, and the shipping was reasonably quick! I would definitely consider this business for future needs. Thanks!

As part of a kitchen remodel the 2 ft between the ceiling and cabinet tops was envisioned as brick. Given the large area to be covered I didn't want to spend weeks putting up faux brick and mortar. Too time consuming, heavy and messy. Your extremely light weight panels went up in less than a day. Screwing to the existing studs made the job quick and clean. The next day I filled the seams with colored caulk. Visitors think they are looking at real brick.